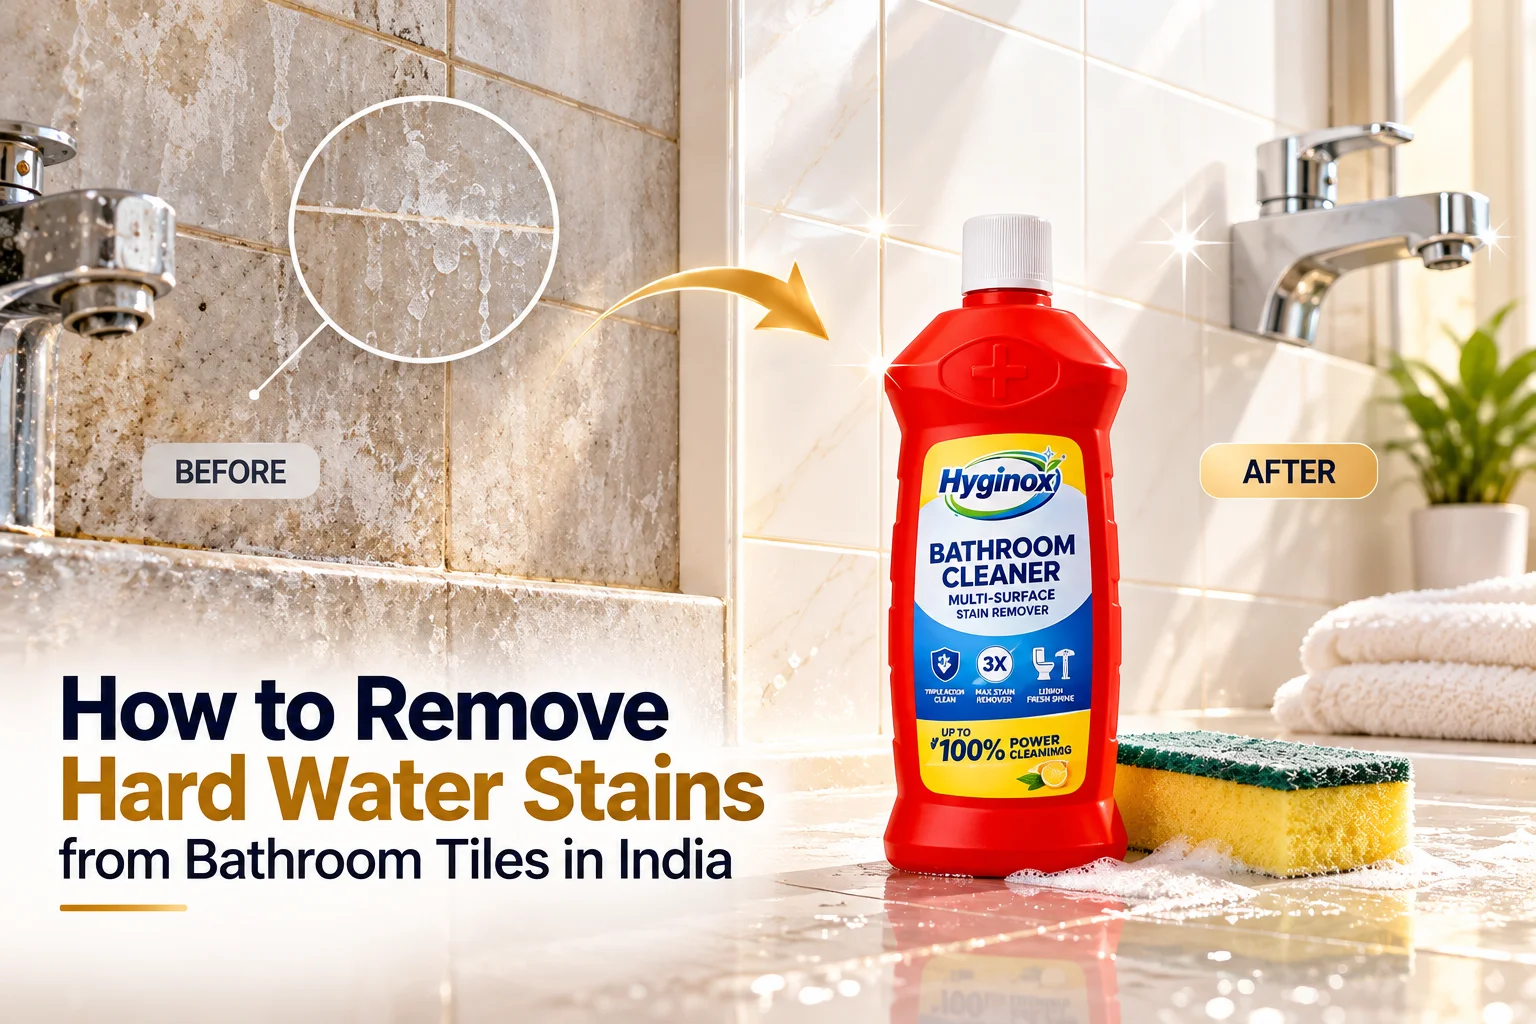
If you searched for “how to remove hard water stains from bathroom tiles india,” start by identifying the tile material before choosing a cleaner. White patches on bathroom tiles, cloudy marks near the shower, and chalky rings around taps can make a recently cleaned bathroom look dirty again. In many Indian homes, these marks appear when water dries and leaves minerals behind. Scrubbing harder is not always the answer: the right method depends on the tile material, the age of the deposit, and whether the mark is mineral scale, soap scum, or another stain.
To remove hard water stains from bathroom tiles, first confirm that the surface is acid-safe. Use a tile-compatible descaler or the cleaner recommended by the tile manufacturer, allow only the label-specified contact time, gently scrub with a soft brush or non-scratch sponge, rinse thoroughly, and dry the area. Never use vinegar or acidic descalers on marble, limestone, travertine, or other acid-sensitive stone.
This guide explains how to remove hard water stains from bathroom tiles in India, how to choose a method for ceramic, vitrified, textured and stone surfaces, and how to reduce the marks from returning.
What causes hard water stains on bathroom tiles?
Hard water contains dissolved minerals, especially calcium and magnesium. When water splashes onto a tile and evaporates, some of those minerals remain on the surface. Repeated splashes can leave a whitish film, cloudy patches, rough rings or a crust around corners, shower areas and taps. A mark may become more difficult to remove when it builds up over weeks or months.
The problem is not limited to one water source. A bathroom supplied by a borewell, stored tank water or a municipal connection can develop deposits if the water contains enough dissolved minerals. Dark tiles often make pale marks easier to notice, while textured anti-skid tiles can hold residue in their tiny grooves.
- White or chalky film: often mineral residue left after water dries.
- Cloudy, slippery film: may be soap scum mixed with minerals and body oils.
- Orange or reddish marks: may involve iron or rust, which can need a different treatment.
- Black or green patches: may be mould, mildew or embedded dirt rather than hard water scale.
Identifying the stain matters. A general-purpose cleaner may remove ordinary dirt but leave mineral deposits behind. For a fuller comparison, read Soap Scum vs Hard Water Stains: How to Tell the Difference.
Before cleaning: identify your bathroom tile type
Do not choose a cleaner just because it is labelled for bathrooms. The surface material is just as important as the stain. If you do not know what your tiles are made from, check the installation details or ask the tile supplier before using an acidic product.
| Surface | Safer starting point | Important caution |
|---|---|---|
| Glazed ceramic tile | A cleaner specifically labelled for ceramic tile; a compatible descaler may help with mineral scale. | Test a hidden area and follow the product label, especially near grout. |
| Vitrified or porcelain tile | A tile-compatible cleaner or descaler approved for that finish. | Do not assume every product is safe for polished finishes, joints or nearby fittings. |
| Textured or anti-skid tile | A compatible cleaner and a soft-bristle brush that can reach the texture. | Avoid stiff metal brushes and abrasive scouring pads that may damage the finish. |
| Marble, limestone, travertine or other natural stone | A pH-neutral cleaner specifically made for that stone. | Avoid vinegar, lemon juice and acidic descalers; acids can etch or dull sensitive stone. |
| Grout and cement joints | A cleaner approved for the tile and grout system, applied carefully. | Strong or prolonged acid contact can damage cement-based joints. Rinse thoroughly. |
When in doubt, start with the least aggressive method and test it in a small, hidden area. Stop if the surface becomes dull, changes colour, feels rougher or shows any other change.
How to remove hard water stains from bathroom tiles: step by step
For ordinary mineral marks on compatible ceramic or vitrified tiles, a controlled, small-area clean is usually more effective than scrubbing the entire bathroom at once. Use the instructions on the selected cleaner as the authority for dilution, contact time and surface compatibility.
- Clear the area. Remove bottles, mats and loose items. Open a window or switch on the exhaust fan, and put on suitable household cleaning gloves. Keep children and pets away while you work.
- Remove loose dirt first. Wipe or rinse the tile with clean water so grit does not get dragged across the finish while you scrub.
- Test the cleaner. Apply a small amount to an inconspicuous area, using the label directions. Check both the tile and a nearby grout joint for any change before treating a larger patch.
- Apply the compatible cleaner. Cover only the stained section. Use a descaler only when it is labelled for your specific surface. Do not use a product simply because it works on toilet bowls or metal fittings.
- Let it work for the stated time. Follow the package directions exactly. Do not allow the product to dry on the tile, and do not extend the contact time in the hope of getting a faster result.
- Agitate gently. Use a soft sponge or non-scratch brush. On textured tiles, use a soft-bristle brush to reach the grooves. Avoid steel wool, metal scrapers and aggressive abrasive powders.
- Rinse thoroughly. Wash away all cleaner and loosened residue with clean water. Pay extra attention to grout lines, corners and the edges of nearby fittings.
- Dry and inspect. Wipe the tile with a clean microfiber cloth or squeegee. If the mark has reduced but remains, repeat only if the product label permits another application. Do not automatically switch to a stronger chemical.
For extensive scale, damaged grout, etched glass or stains that do not change after a few correct cleaning attempts, the problem may need a surface-specific restoration product or professional advice.
Do home remedies such as vinegar and baking soda work?
Home remedies are often suggested because they are easy to find, but they are not suitable for every tile. Use them only when the tile or surface manufacturer says they are compatible. A small patch test is essential, and commercial product labels should always be followed.
White vinegar for light mineral marks
Vinegar is acidic, so it may loosen light mineral deposits on some acid-resistant, glazed surfaces. However, it is not a universal bathroom-tile solution. It can etch marble and other calcareous stone, and repeated or prolonged contact may harm cement-based grout or some finishes. If the tile type is unknown, skip vinegar and choose a cleaner approved for that surface.
Baking soda for light surface residue
A small amount of baking soda mixed with water makes a paste that can help lift some light surface grime when gently applied. It is not a dependable descaler for thick mineral deposits. Baking soda is mildly abrasive, so rubbing hard or using it repeatedly on a delicate, polished finish may cause dullness or fine scratches. Use a soft cloth and rinse completely.
Should you mix vinegar and baking soda?
No. Mixing them causes an acid-base reaction that fizzes, but the fizz does not make the combination a stronger cleaner for hard water scale. It can reduce the useful acidity of the vinegar. Never mix cleaning products or homemade chemical combinations unless the product maker specifically directs you to do so.
When should you use a bathroom cleaner or descaler?
If a chalky mineral mark remains after ordinary dirt has been washed away, use a product whose label specifically permits it for the tile and stain you are treating. A descaler is intended to address mineral deposits; a general bathroom cleaner may be better suited to everyday grime and soap residue. Some bathroom products handle several kinds of light buildup, but you should not assume that every bathroom cleaner will dissolve thick limescale.
Choose based on the label, not just the front-of-pack wording. Confirm the intended surfaces, dilution requirements, contact time, protective equipment and rinsing instructions. Keep acidic descalers away from natural stone and from any fittings or finishes the manufacturer lists as incompatible. Never pour one cleaner into another bottle or use a second chemical on a surface before the first product has been completely rinsed away.
For routine bathroom maintenance and common soap residue or water marks, see Hyginox Bathroom Cleaner. Read the product directions before use, test a hidden area first, and use it only on surfaces listed as suitable. For severe, hardened mineral crust, choose a product specifically labelled for descaling and for the exact tile material rather than expecting every general bathroom cleaner to do the same job.
How to clean hard water stains from anti-skid tiles and grout
Anti-skid tiles can look stained even after a basic wipe because their texture catches residue. Work in small sections so that cleaner does not dry before you can rinse it. Use a compatible product and a soft-bristle brush, moving gently along the texture instead of using excessive pressure. Rinse the floor well and remove standing water before allowing anyone to walk on it.
Grout needs extra care. Cement-based grout can be sensitive to acidic cleaners, particularly when the product is strong or left on for too long. Avoid flooding grout lines with a descaler unless the label permits it. If a compatible cleaner is approved for the joints, apply carefully, work gently with a grout brush, and rinse thoroughly. If grout is cracking, powdery, missing or persistently discoloured, cleaning alone may not solve the underlying issue.
Cleaning mistakes that can damage bathroom tiles
- Using vinegar on every surface: acids can etch marble, limestone and similar stones.
- Scrubbing harder instead of changing the method: rough pads, steel wool and gritty powders can scratch or dull finishes.
- Leaving chemicals on longer than directed: more contact time is not automatically more effective and can damage tiles, joints or fittings.
- Mixing cleaners: never mix bleach with acids, toilet cleaners, vinegar or other products. Dangerous gases can be released. Do not mix bleach and ammonia either.
- Skipping the rinse: leftover product can leave residue, irritate skin or affect the surface.
- Cleaning without ventilation: ventilate the space and use the protective equipment specified on the label.
- Using one product for every kind of stain: mineral deposits, soap scum, rust and mould may need different approaches.
If a product splashes into the eyes or causes a reaction, follow the label's first-aid instructions and seek medical advice when appropriate. For chemical exposure, do not try to neutralise a spill on the skin with another chemical.
How to prevent hard water stains from coming back
Once the surface is clean, small habits can reduce the amount of mineral residue left behind. Prevention is especially useful in bathrooms where the same walls, shower corners and tap areas get wet several times a day.
- Wipe after bathing. Use a squeegee on suitable shower walls and a microfiber cloth around taps and splash zones.
- Do not let puddles dry repeatedly. Remove standing water from ledges, corners and the floor where practical.
- Keep air moving. Run the exhaust fan or open a window when safe to do so, helping the bathroom dry faster.
- Clean light buildup regularly. A short weekly clean is easier than removing thick deposits after months of neglect. Adapt the frequency to your water and usage.
- Rinse soap residue. Soap film can trap mineral deposits, so rinse shower walls and shelves after use.
- Follow the tile maker's care guide. Surface finishes differ, and a method suitable for glazed ceramic may not be safe for natural stone.
- Consider the water supply if buildup is severe. If deposits form quickly throughout the home, ask a qualified water-treatment professional whether testing or softening is appropriate.
A useful routine is to squeegee or wipe wet splash zones after bathing, clean frequently used areas weekly, and treat visible mineral deposits as soon as they appear. You may still see occasional marks, but they should be easier to manage before they harden.
When do you need professional help?
Consider professional advice if the tile material is unknown, the bathroom includes marble or other natural stone, the surface becomes dull after cleaning, or hard deposits do not respond to a compatible product used according to its directions. A mark that remains after the surface is clean may be etching, corrosion, a damaged glaze or discoloured grout rather than removable residue.
Professional restoration may be safer than escalating to stronger acids or abrasives. If hard water buildup is recurring across several bathrooms, address the source as well as the symptom: a qualified water-treatment professional can help assess water hardness and available treatment options.
Final takeaway
The most reliable way to remove hard water stains from bathroom tiles is to identify the surface, select a compatible cleaner, allow only the recommended contact time, scrub gently, rinse thoroughly and dry. Glazed ceramic and vitrified tiles may tolerate some descaling products, but natural stone and grout can be more sensitive. Avoid mixing chemicals and never rely on hard scrubbing to compensate for the wrong cleaner.
For people searching “how to remove hard water stains from bathroom tiles india,” the safest routine is surface-first: check the tile, follow a compatible cleaner’s label, rinse well and dry. Preventing repeated water marks is just as important as removing them, so wipe splash zones after use, maintain ventilation and deal with light buildup before it becomes a thick mineral crust.